
Oiled finish wood flooring has become an increasingly popular choice for most homeowners and builders.
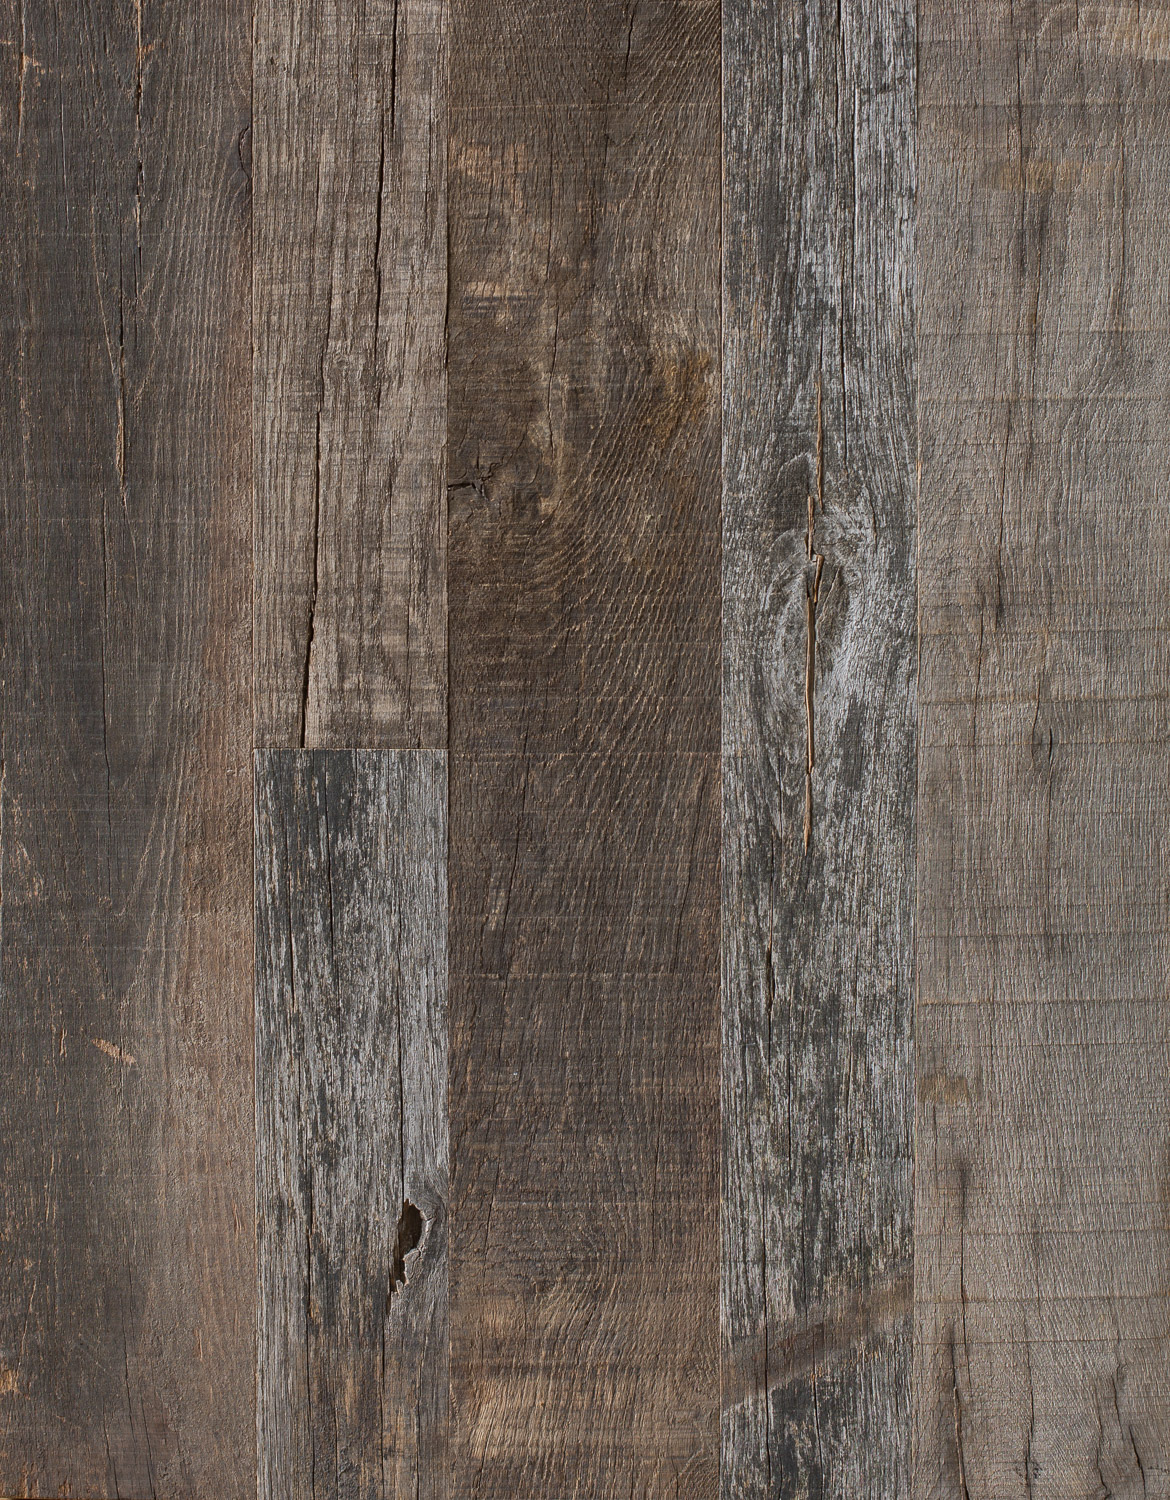
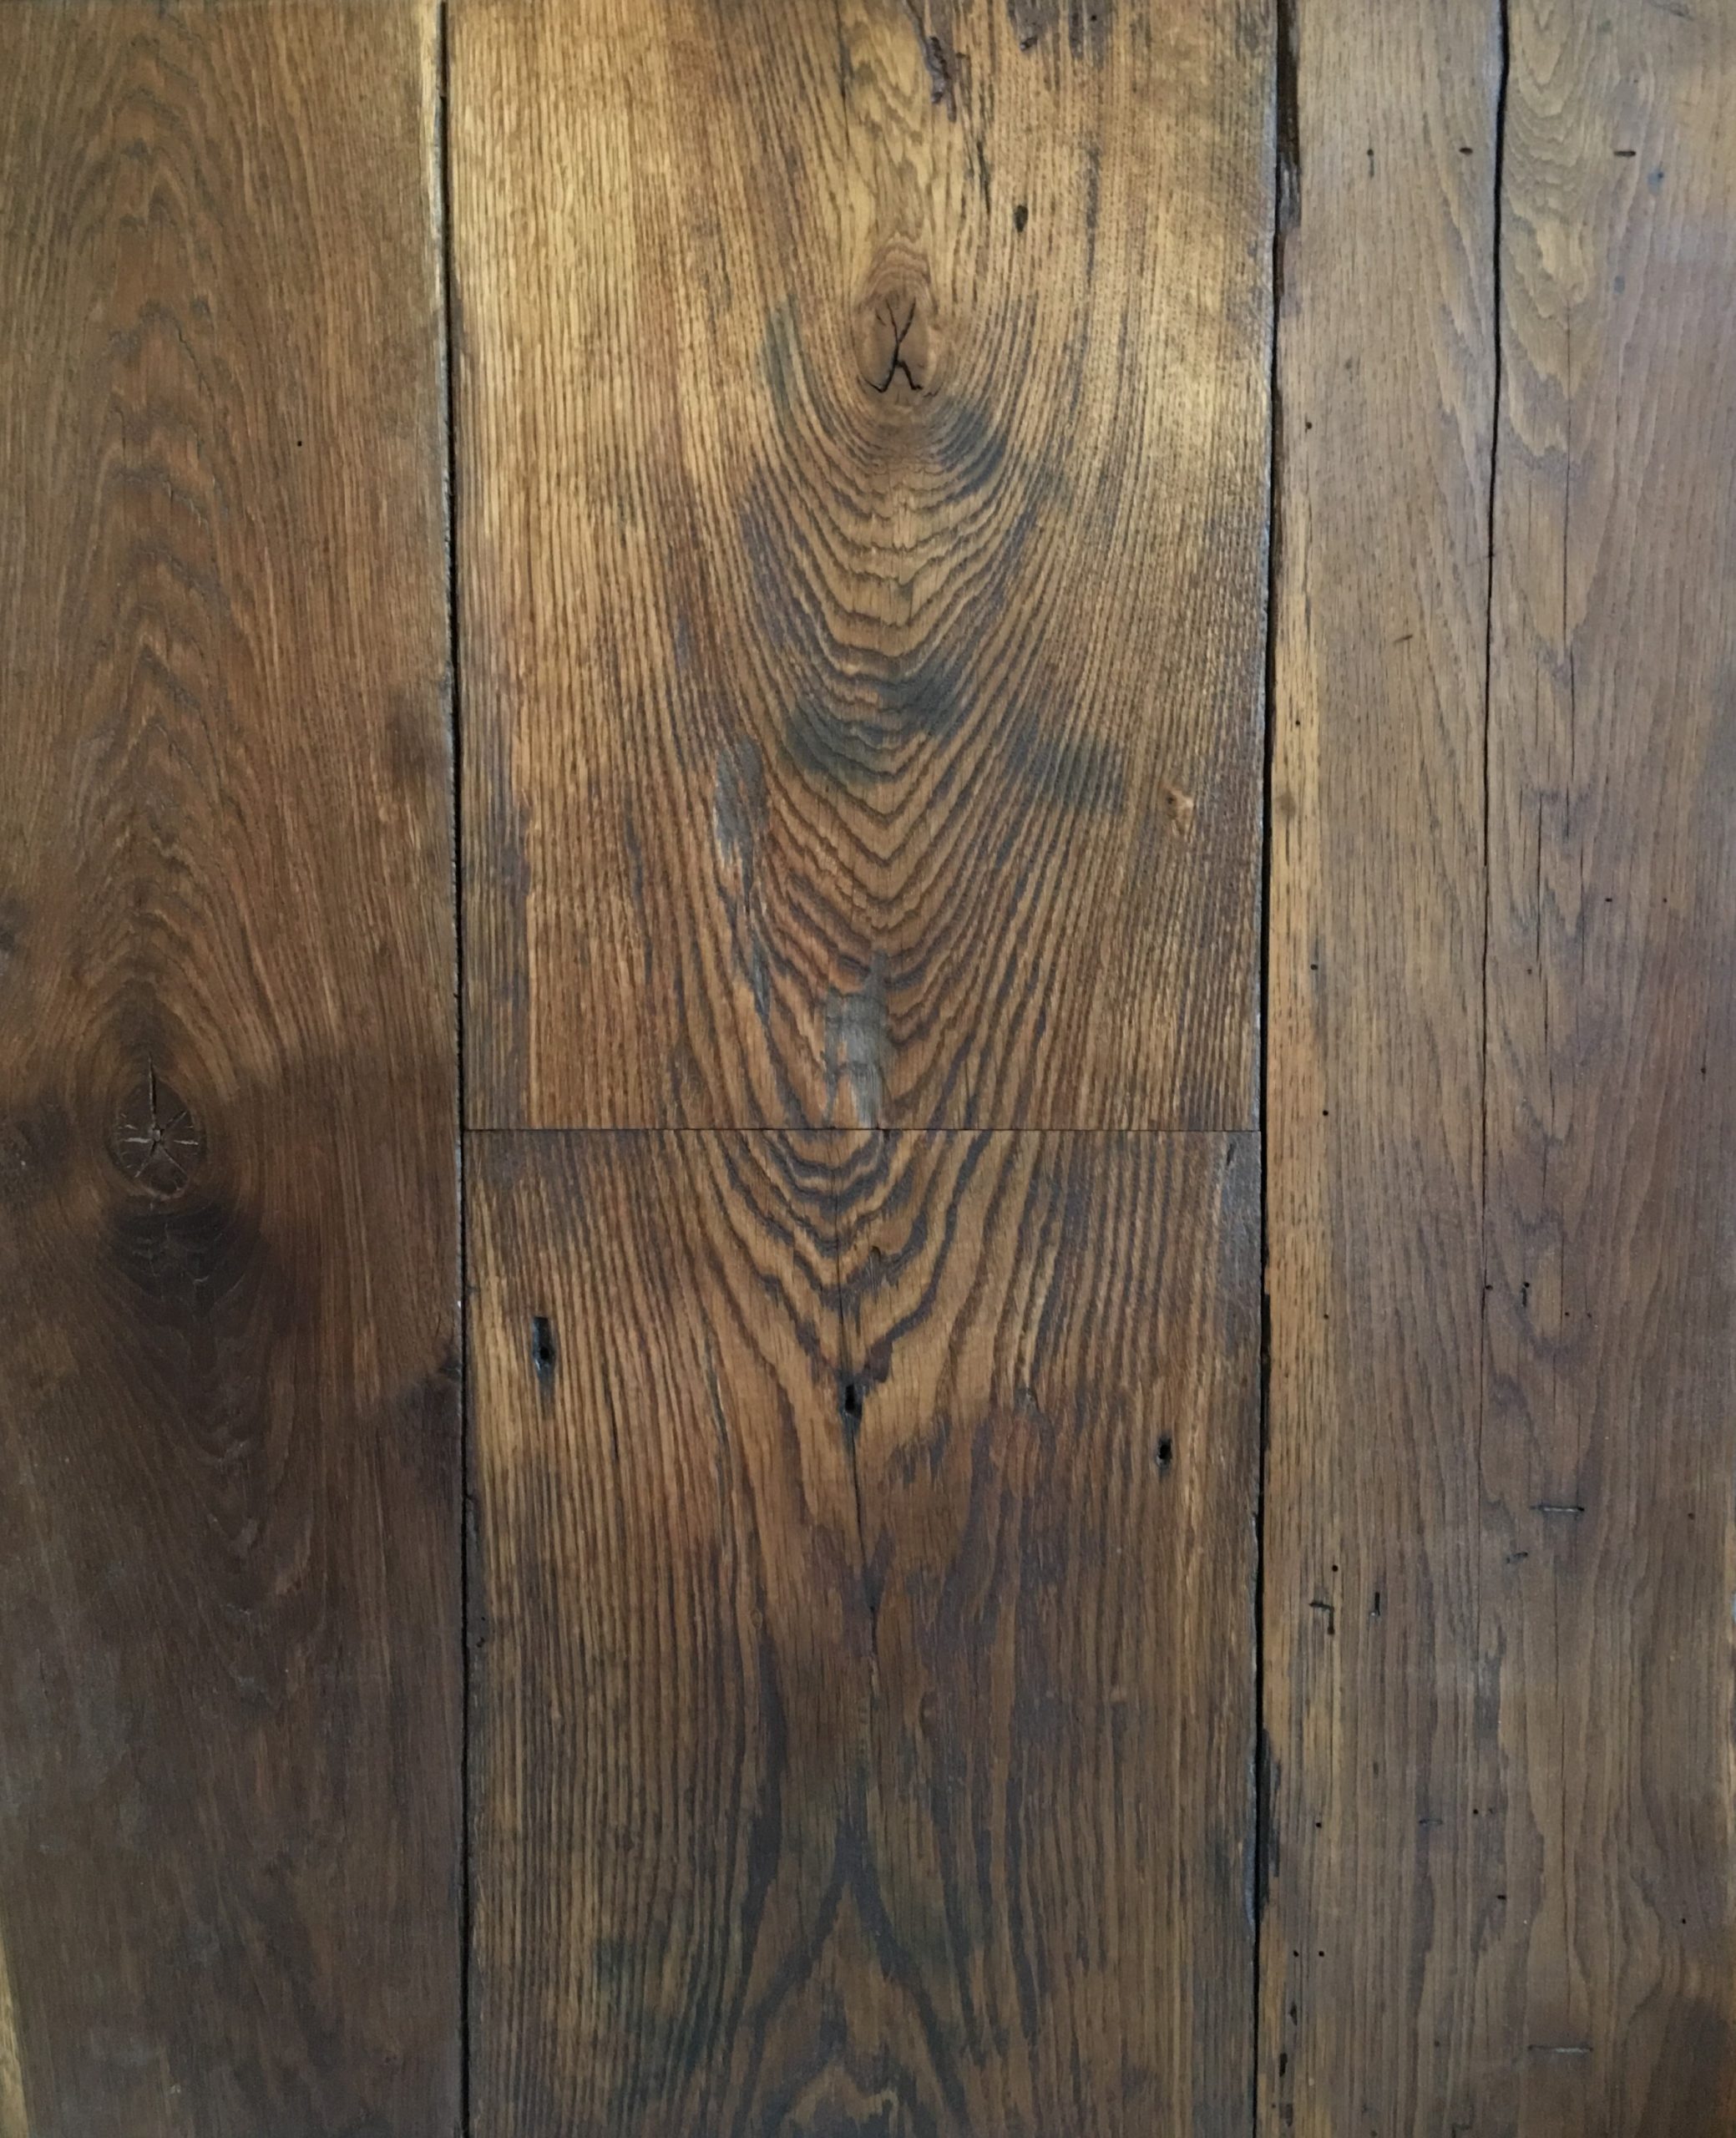
Mainly because of the aesthetics of the pleasing natural and warm look and the fact that the oil finish helps make the real character of the wood stand out without any “plastic” shine.
A hardwearing option – when maintained correctly, it looks beautiful and adds a touch of sophistication to any room.
Treatment with wood oil is perfect for anyone who is seeking to retain and enhance the natural good looks and brings out the same beautiful look that many exotic wood species have.
The oiled finish option suits both reclaimed and harvested wooden floors, both solid and engineered options, no matter where you plan to install your new floors.
If an oiled finish is your choice of wood flooring, it’s crucial to keep the coating of your flooring in proper condition by oiling it regularly and minimizing the risk of scratches, scrapes and chips.
To help protect the coating on your floor, a thorough and regular cleaning regime is required to keep the floor free of dirt and dust.
Dust and grit are the worst on oil-coated wood floors as they act as an abrasive, serving to remove the oil coating and leave your wood flooring exposed.
How frequently the floor requires cleaning will ultimately determine the regularity of the re-oiling or oil-refreshing process required.
For peace of mind, we suggest applying a hard-wax maintenance oil every 6-10 months.
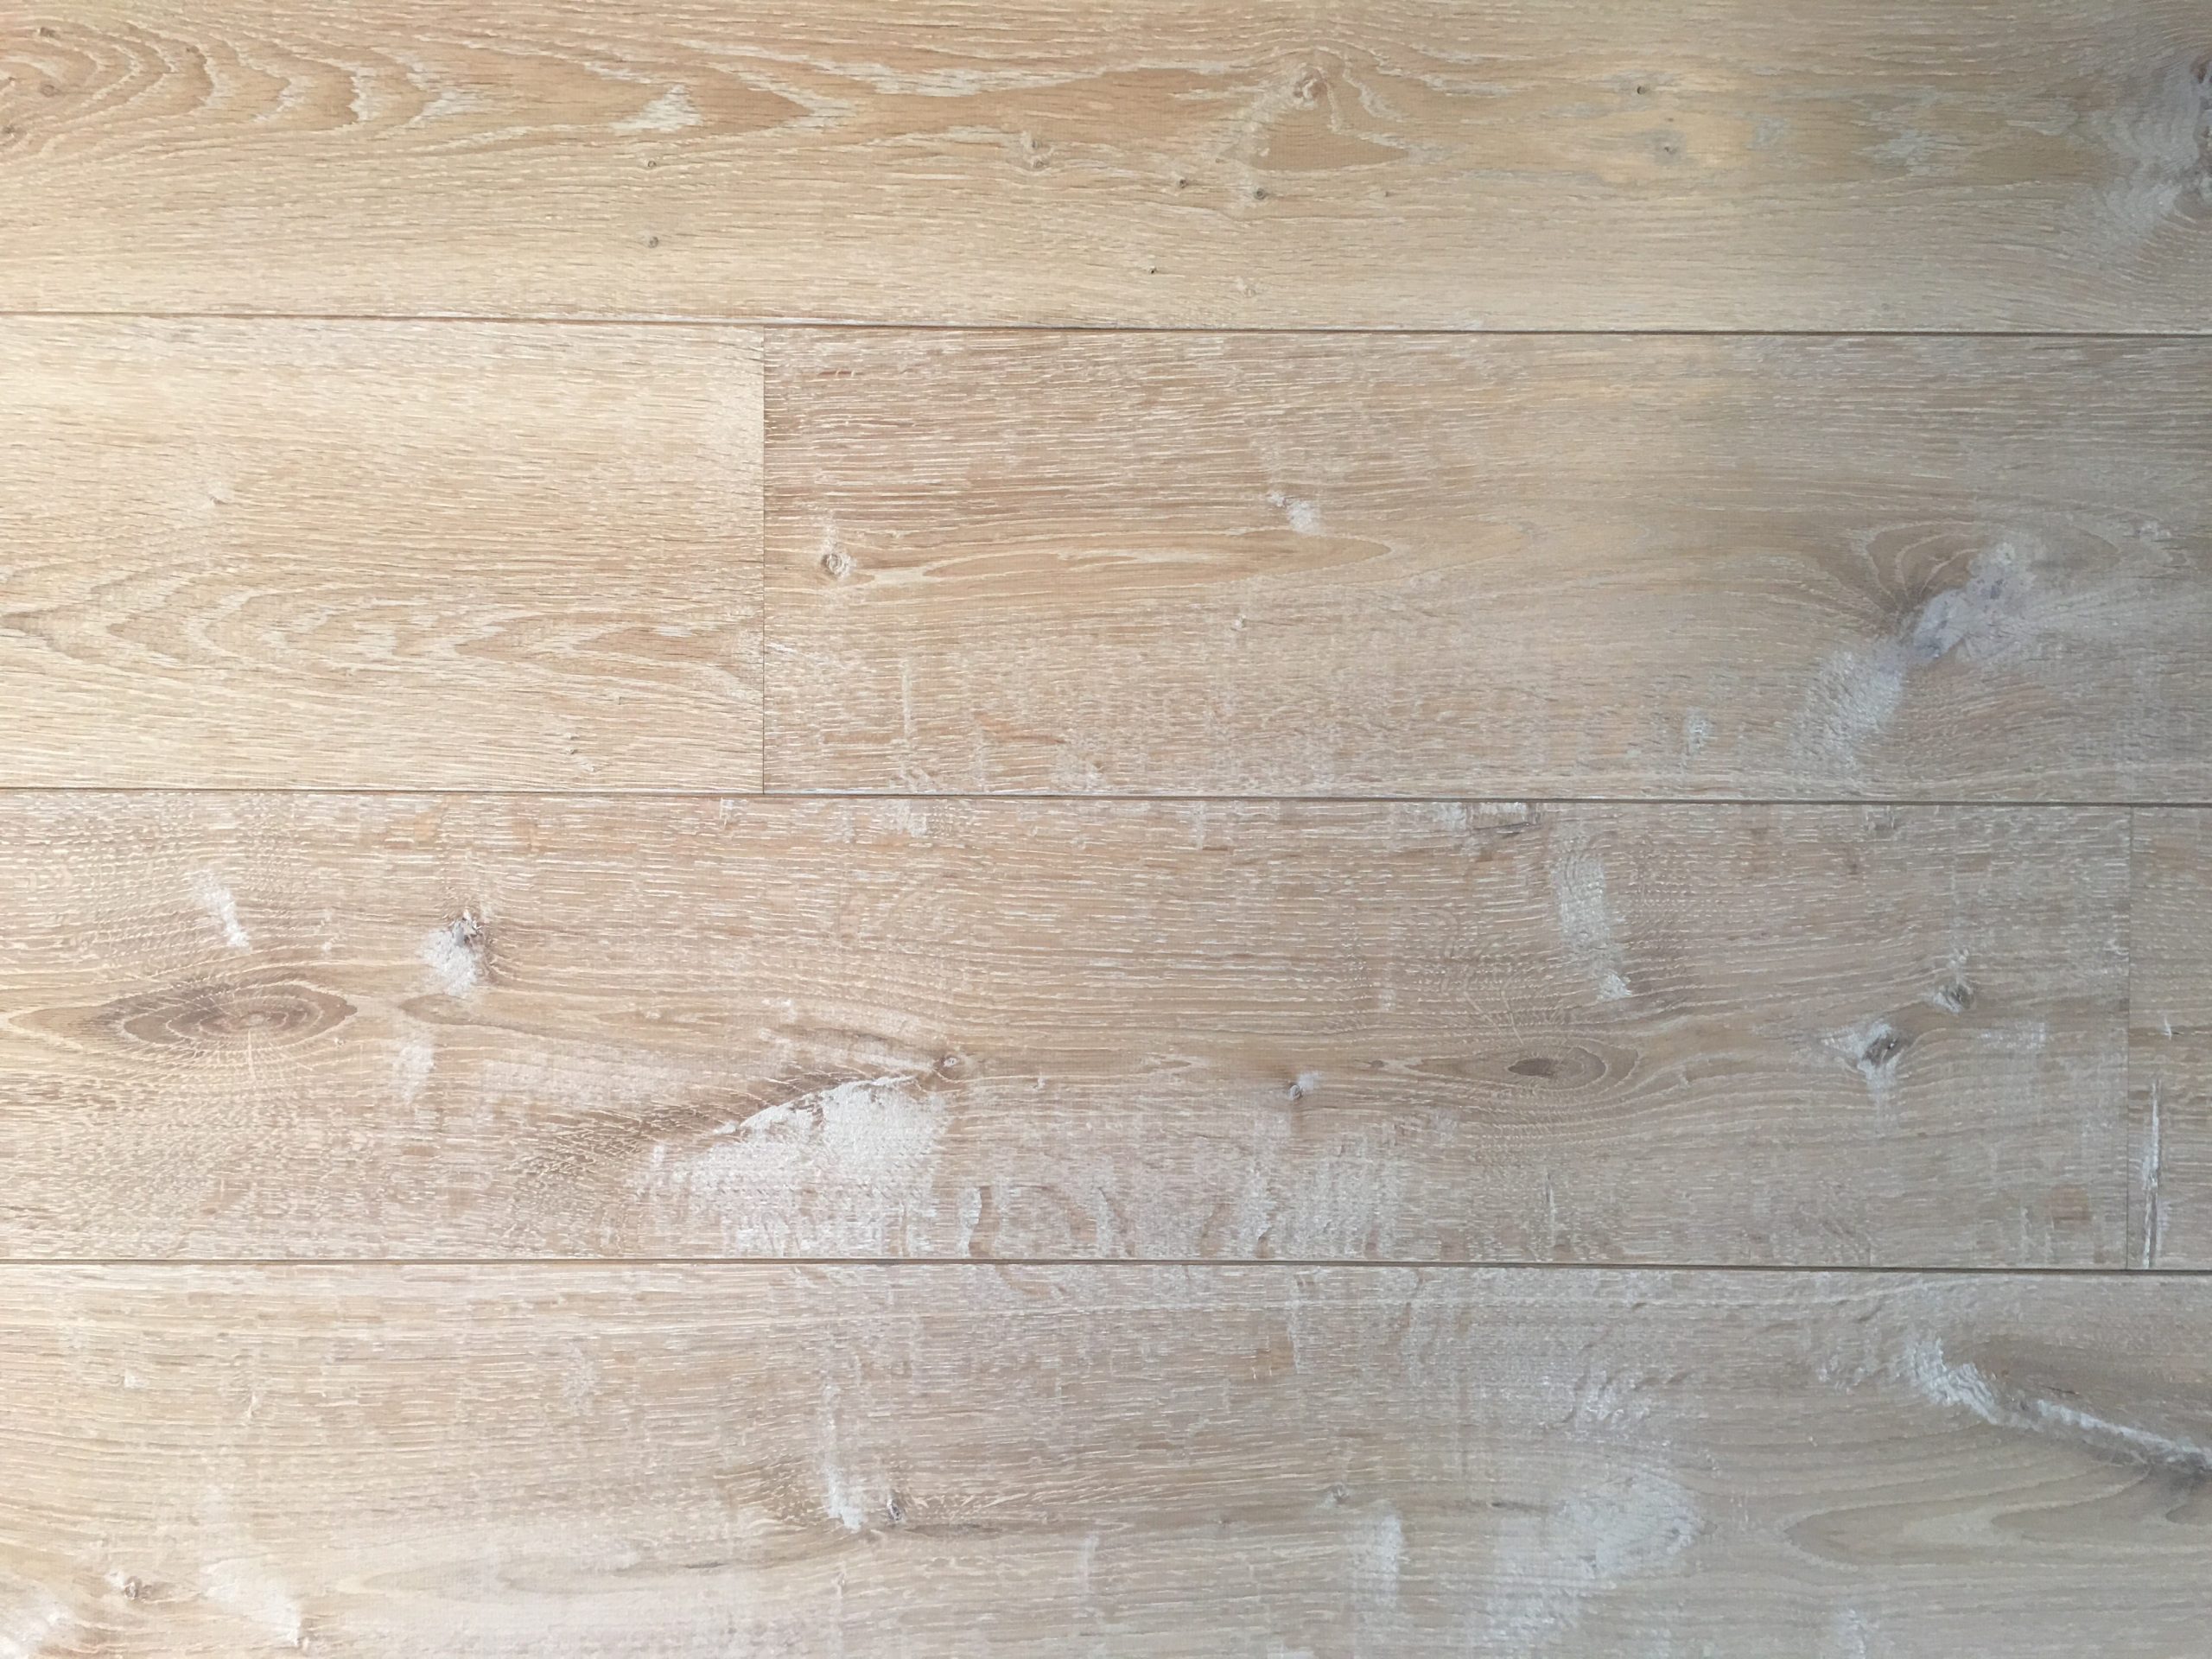
Before Oiling
A well-oiled wood floor normally requires a regular vacuum and a thorough going over with a moist, not wet, mop to keep it looking amazing.
Ideally, the vacuum attachment should be a natural bristle brush or a type that will not scratch the floor.
When the hardwood floor needs more than just vacuum cleaning – that is, re-sanding and re-finishing; how often you require such drastic treatment depends upon the traffic, wear and tear and maintenance regime your floor has experienced.
Prepping the Floor Before Oiling
- For best results, sand the floor with fine sandpaper to loosen the grain in the wood and help the oil penetrate deeper into its pores.
- Floors with a different finish, such as a coat of varnish, will also need to be sanded back to bare wood.
- If applying a touch-up layer to new floors with an oil finish, sanding isn’t always necessary.
- Clean the floor thoroughly to prevent any kind of dirt from setting under the oil, and ensure the room is well-ventilated.
If the oiled wood floor is looking really tired and in need of a complete revamp, here’s what you need to do:
- Clear your room. Make sure to remove all furniture and soft furnishings from your room to avoid mess and dust. It is crucial to carefully remove your furniture and avoid dragging it because this could cause even more extensive damage to your floor.
- Once you have the room completely empty, make sure that there are no nails or staples standing proudly on your floor.
- Sand the floor. It is recommended that a floor should always be sanded before oiling because it opens up a new surface layer and makes it a lot easier for the oil to seep into the grain. Select a range of sandpaper from heavy, 40 grit, through to fine, which may be anything up to 120 grit. Start to sand with the heaviest grit and re-do the floor, working with a finer grit each time (apply the same rule to the edges if you’re using an edging sander). If you want professional sanding done, then hiring a sander is always advised.
- When you’ve finished sanding, vacuum up all the dust which has collected on the floor, especially between any gaps in the boards.
- Leave enough time between sanding and oiling to make sure any airborne dust has settled and has been cleared away before moving on to the next phase.
- If you are re-coating an oiled floor that has been recently sanded, then it is not always necessary to sand your floor. However, some quality may be lost.
How to oil your wood flooring?
- To ensure that there are no pigment lumps in the oil solution, ensure the oil is mixed correctly.
- Once appropriately mixed, leave the oil to rest for a few minutes to ensure all air bubbles disappear before use.
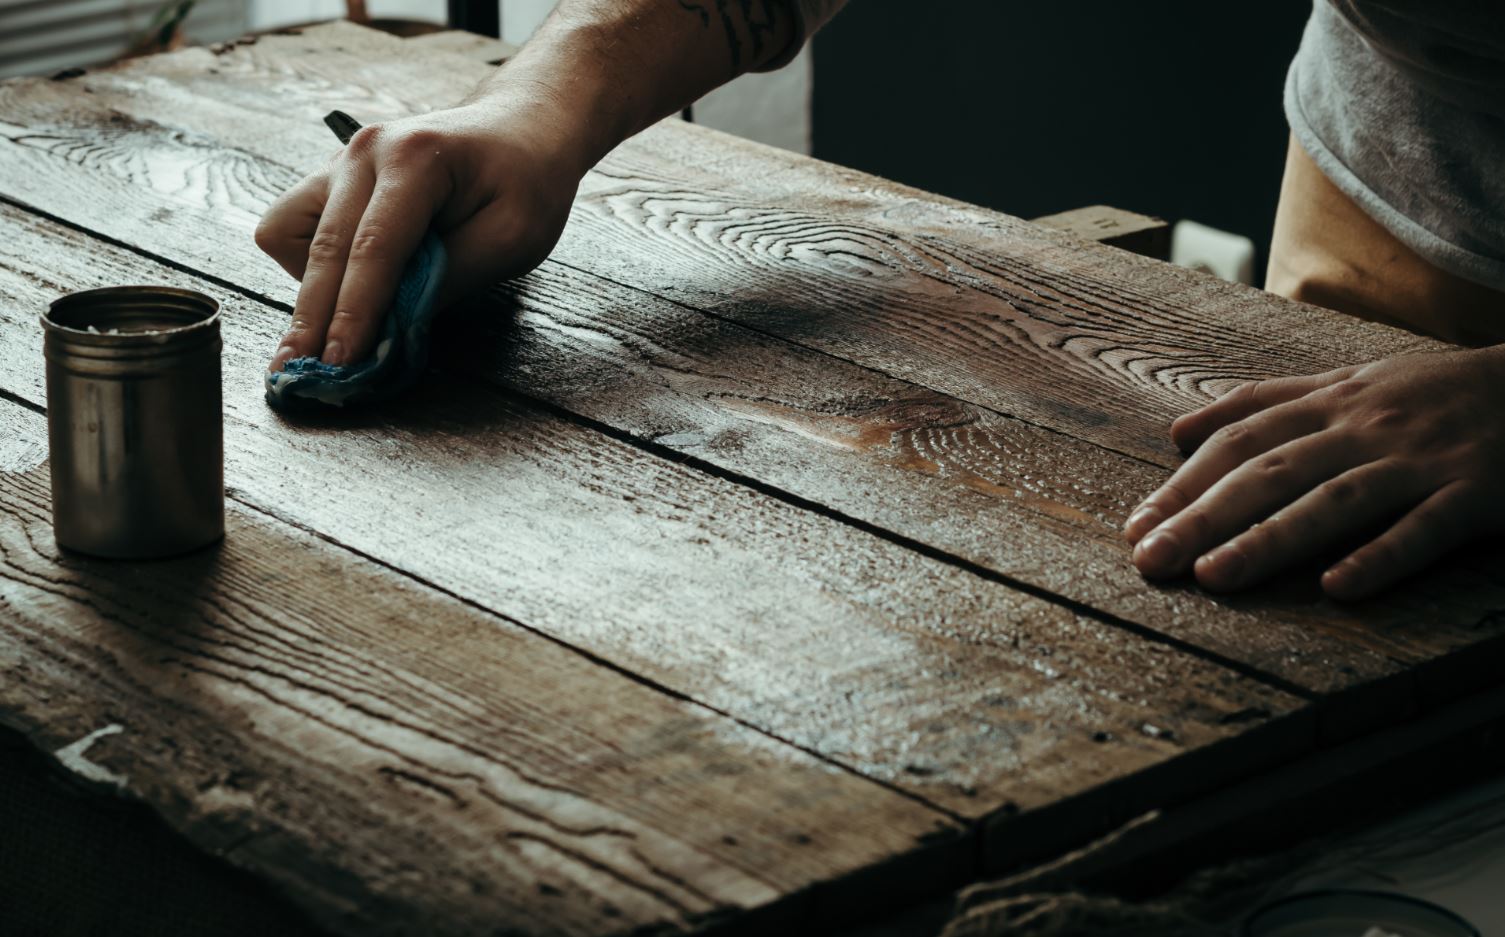
- Now the oil is ready, use either a microfiber roller or a natural bristle hard-quality brush and start by spreading the oil on your floor. It is essential to plan how you will leave the room.
- Start by oiling the corners and work your way towards the exit. The oil should be spread evenly using a feathering technique to ensure no brush marks are left behind.
- If you want a more polished finish, you can buff the floor using a buffer to create a smooth surface, further reflecting the light.
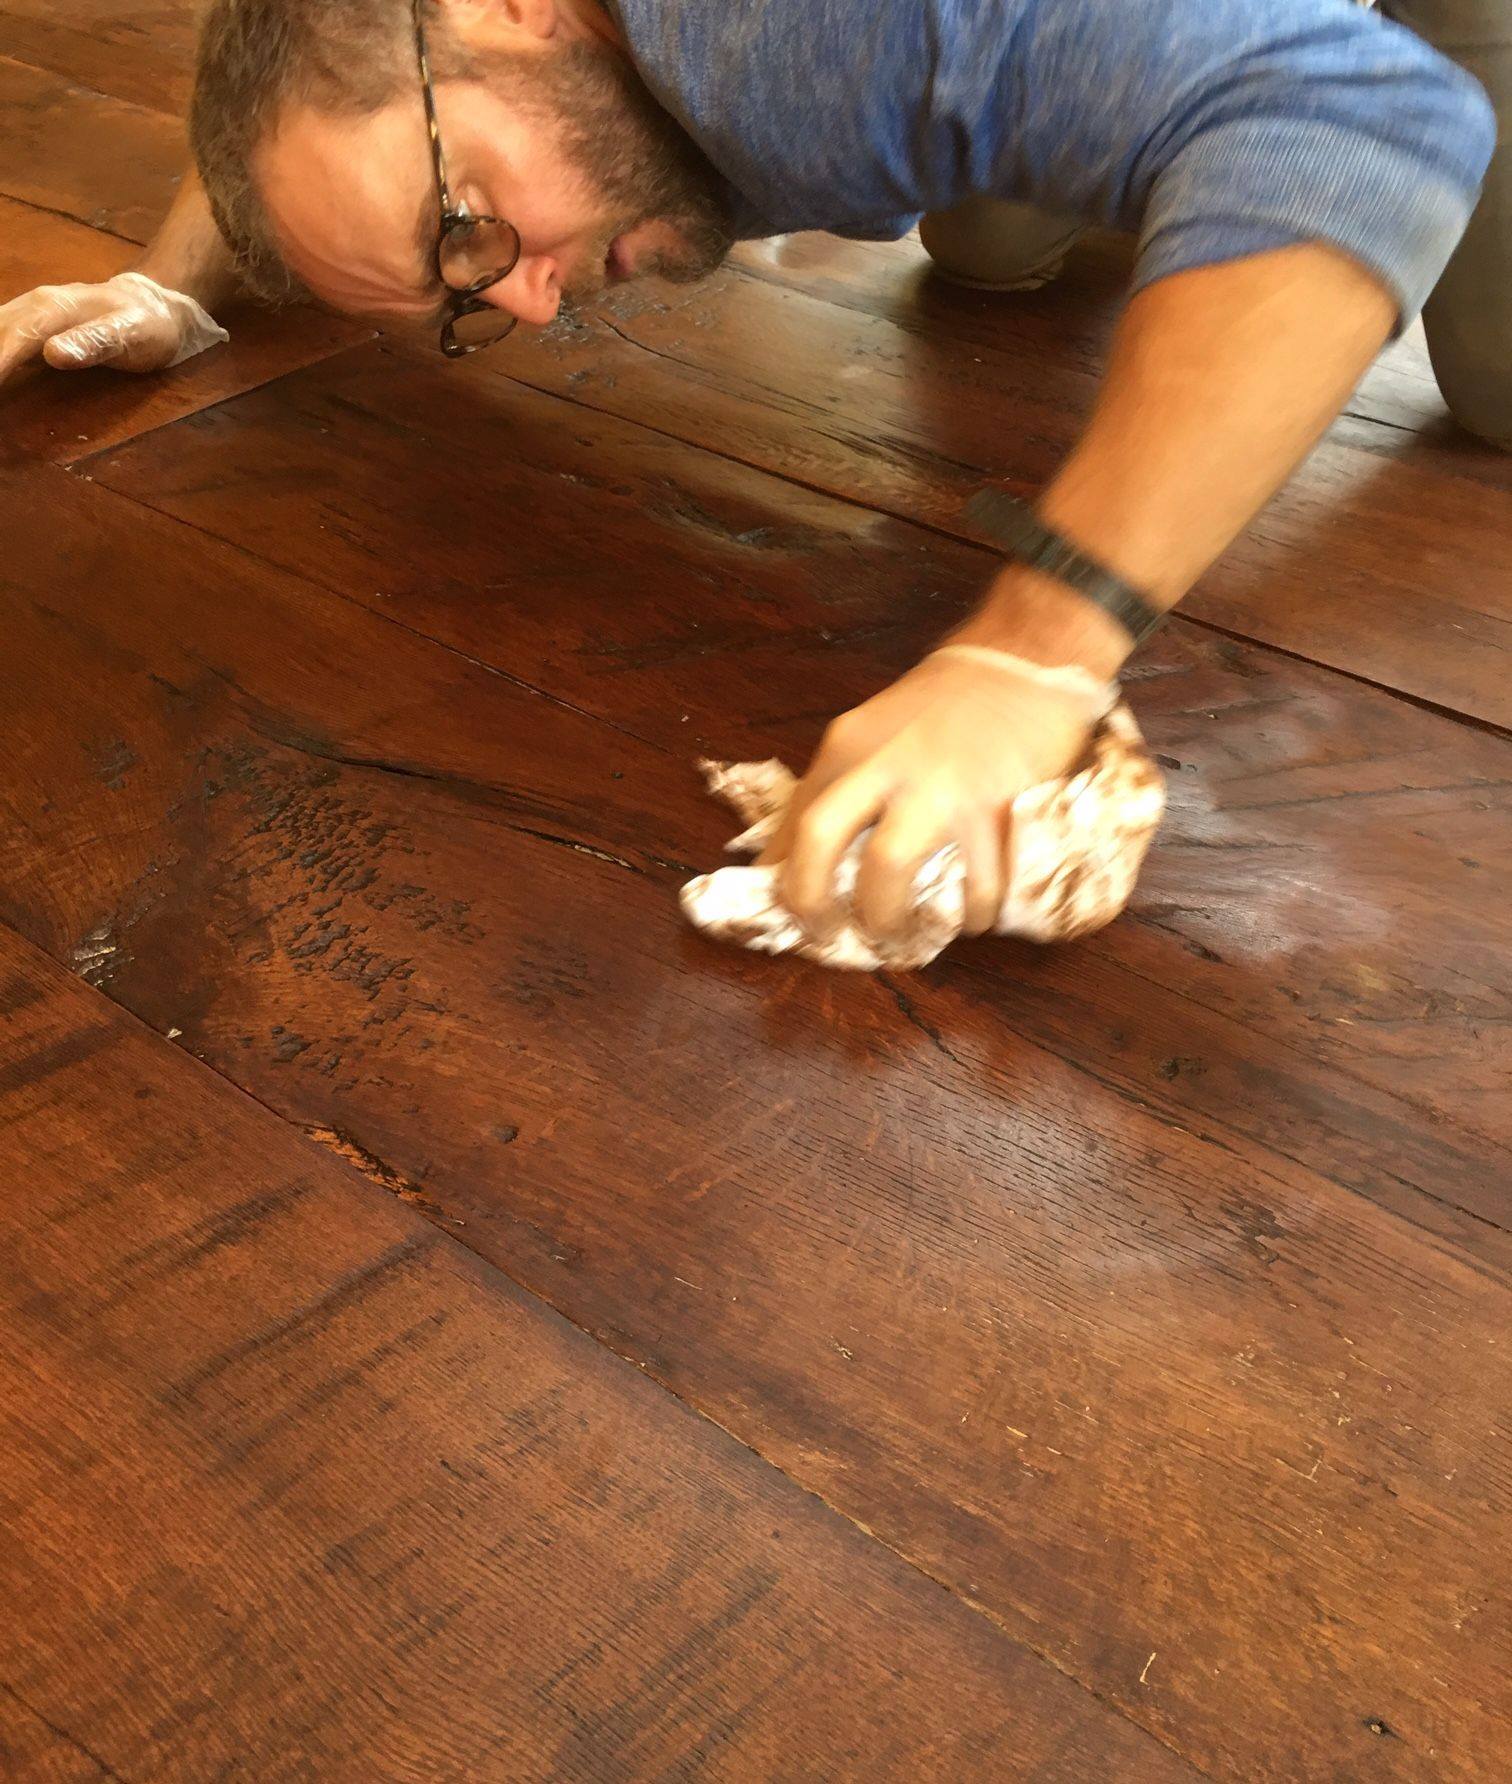
- When the oiling or buffing is completed, it is time to wipe away any excess oil using a soft cloth.
- You only need to apply two coats of oil; after the second coat, the floor should be left for 12 hours to dry and settle.
- Begin by stirring the oil thoroughly to ensure all components are well mixed with no pigment lumps or foamy bubbles.
- To restore an oiled floor, use a stiff brush or microfibre roller and apply a thin coat of oil evenly, working in the direction of the wood grain.
- Work in small sections until the coat is spread evenly throughout the floor.
- Use between 1 and 3 coats of oil, ensuring each layer is completely dry before applying a new one.
- Complete the process with a floor buffer to work the oil into the wood’s pores and bring a lovely sheen.